Integrate Django with Keycloak
Keycloak is an open source identity and access management (IAM) and single sign on (SSO) solution from Redhat. If you have multiple web applications or services that require authentication, keycloak saves you from having to write the same authentication code over and over again, and allows your users to authenticate against multiple applications without having to log in multiple times. In this post I will show how to set up Keycloak running locally, and how to use it as the authentication provider for a Django application. This post uses Python 3.x.
Setup Keycloak
Keycloak is distributed as a standalone server so is a doddle to get it up and running. Download the latest archive from the Keycloak website (we will be using 2.5.1 for this post), unzip it and run the bin/standalone.sh file to start the server.
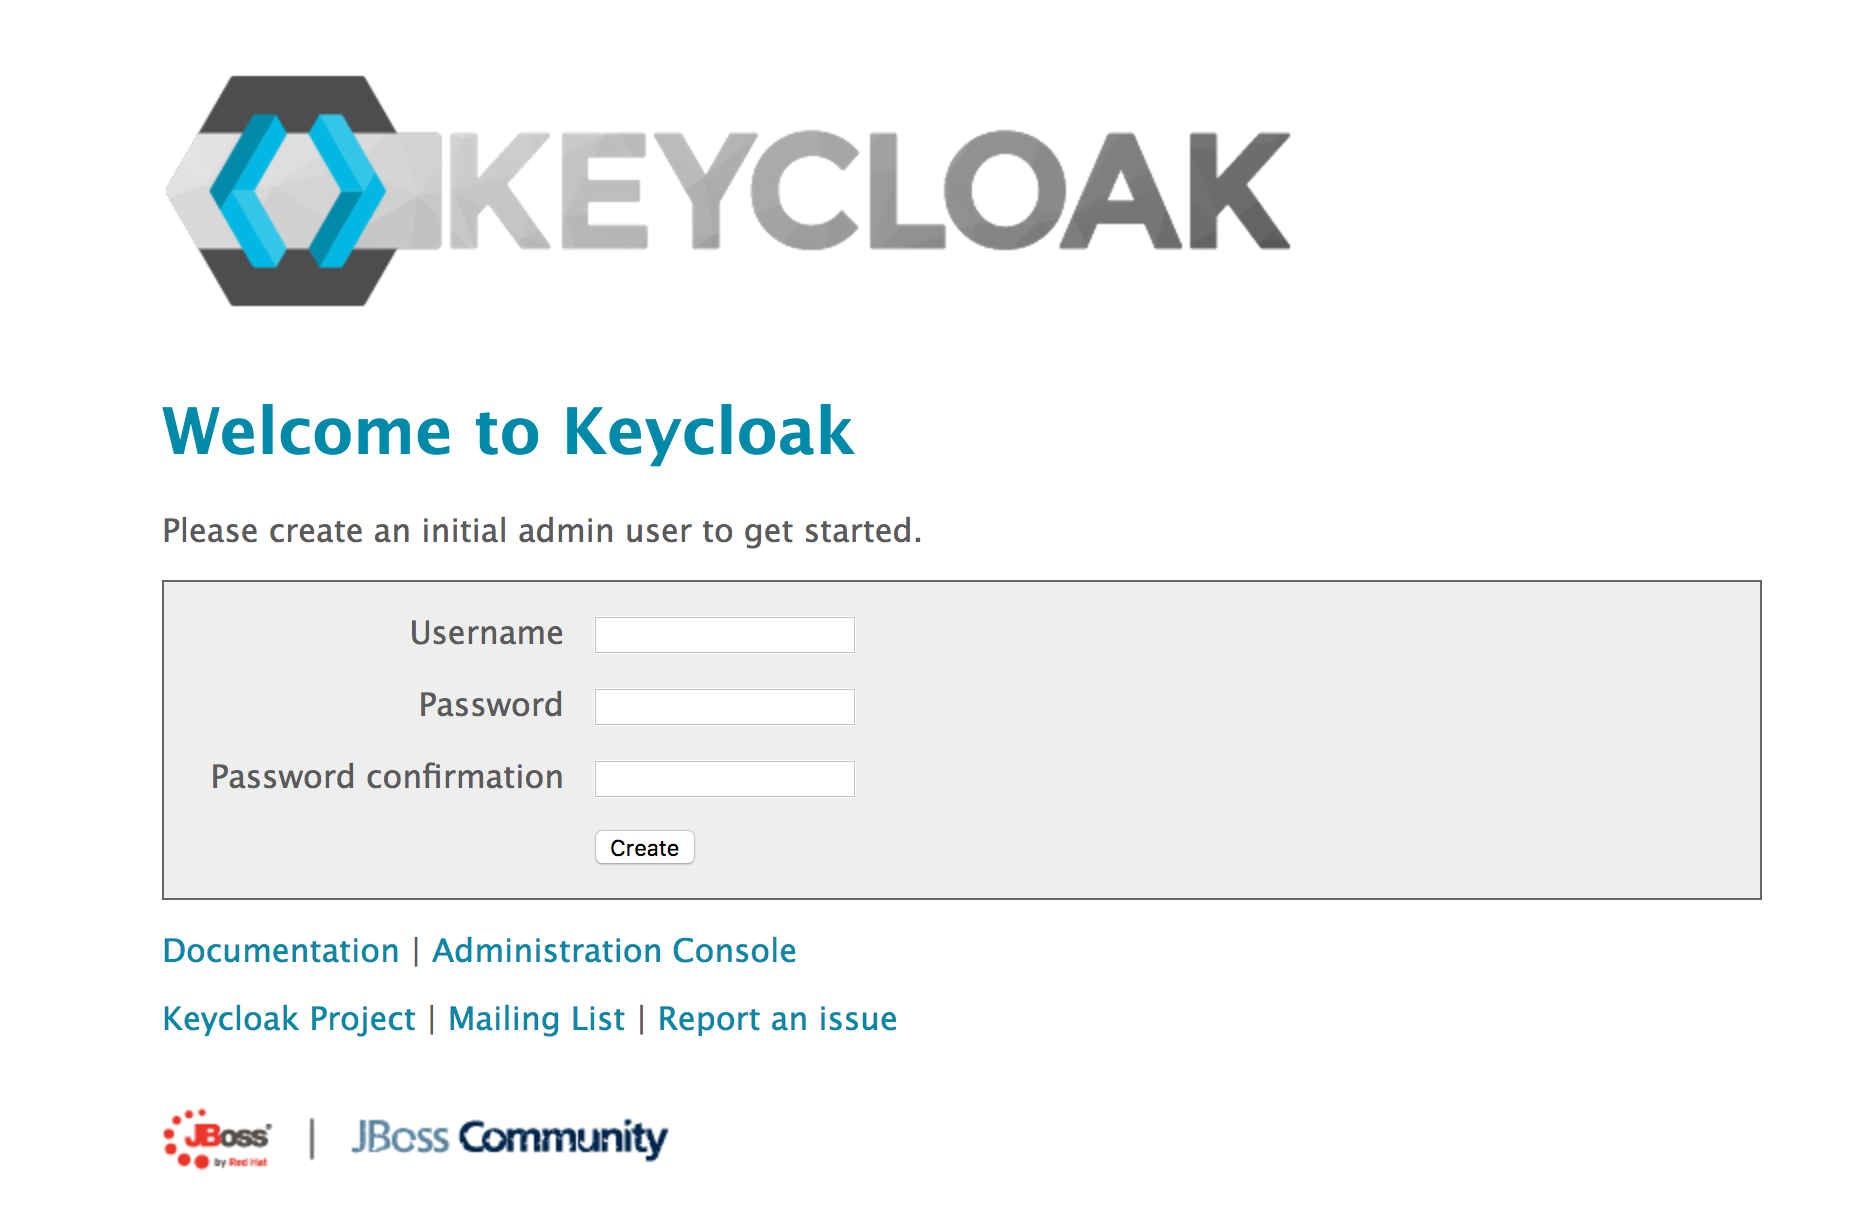
You can now visit http://localhost:8080/auth/ to check your installation is running correctly (it can take a few minutes to start up so don’‘t panic if you get a 404 error initially). Create an administrator user, open the Administration Console and login.
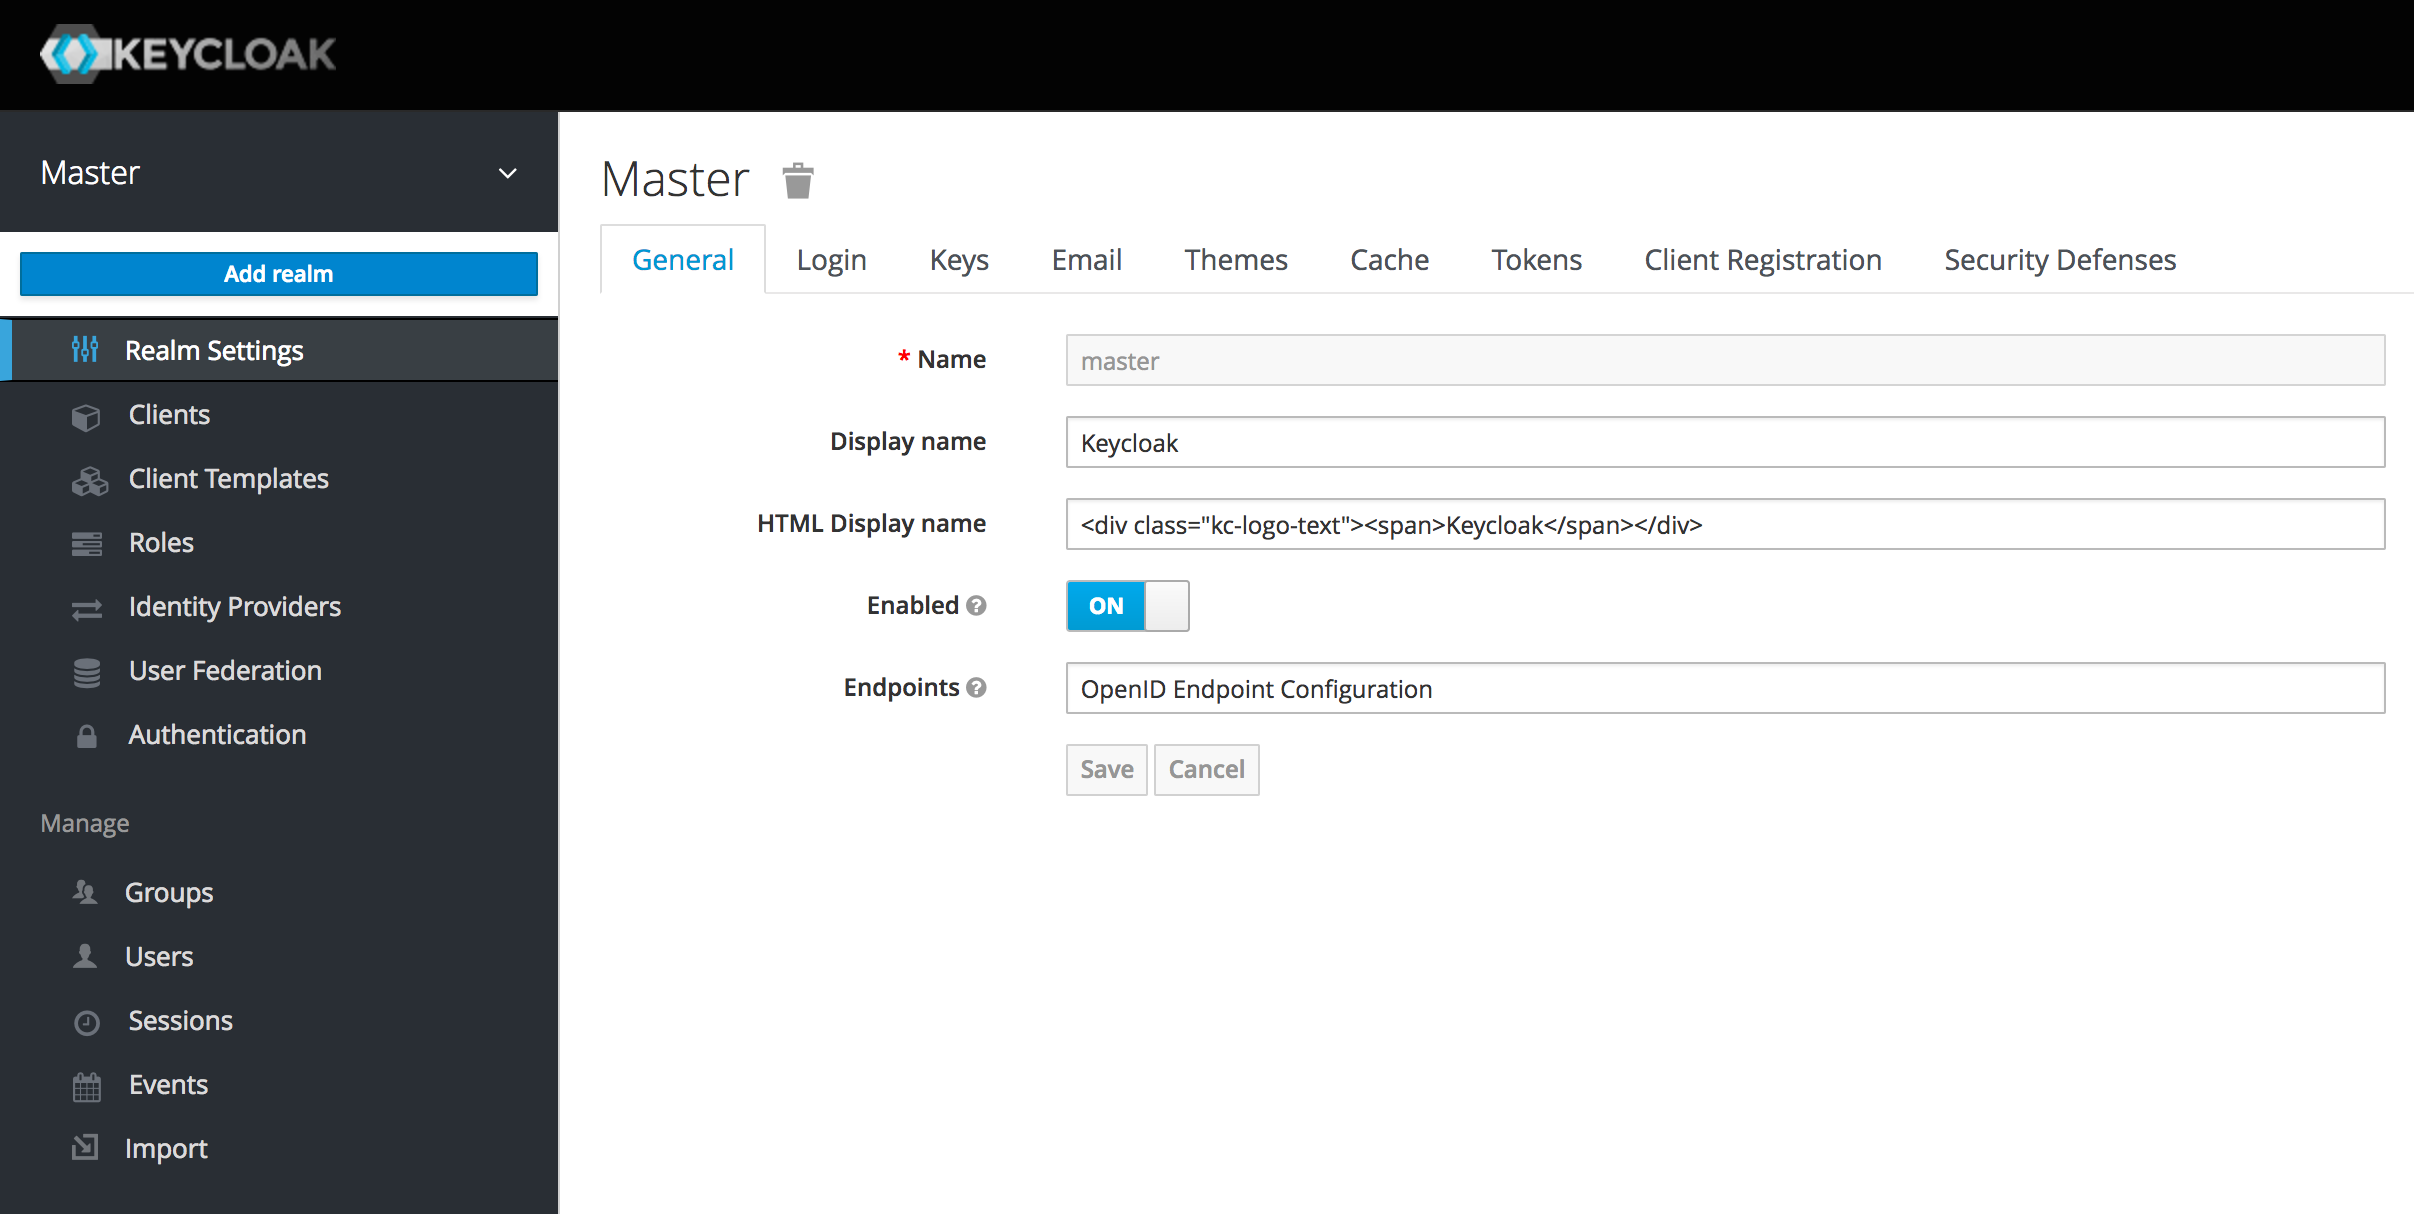
Once logged in you are at the Master realm. This is the realm used to create other realms. A realm contains all the users, groups etc. associated with a set of applications and services. Hover over the Master menu item and click on Add realm.
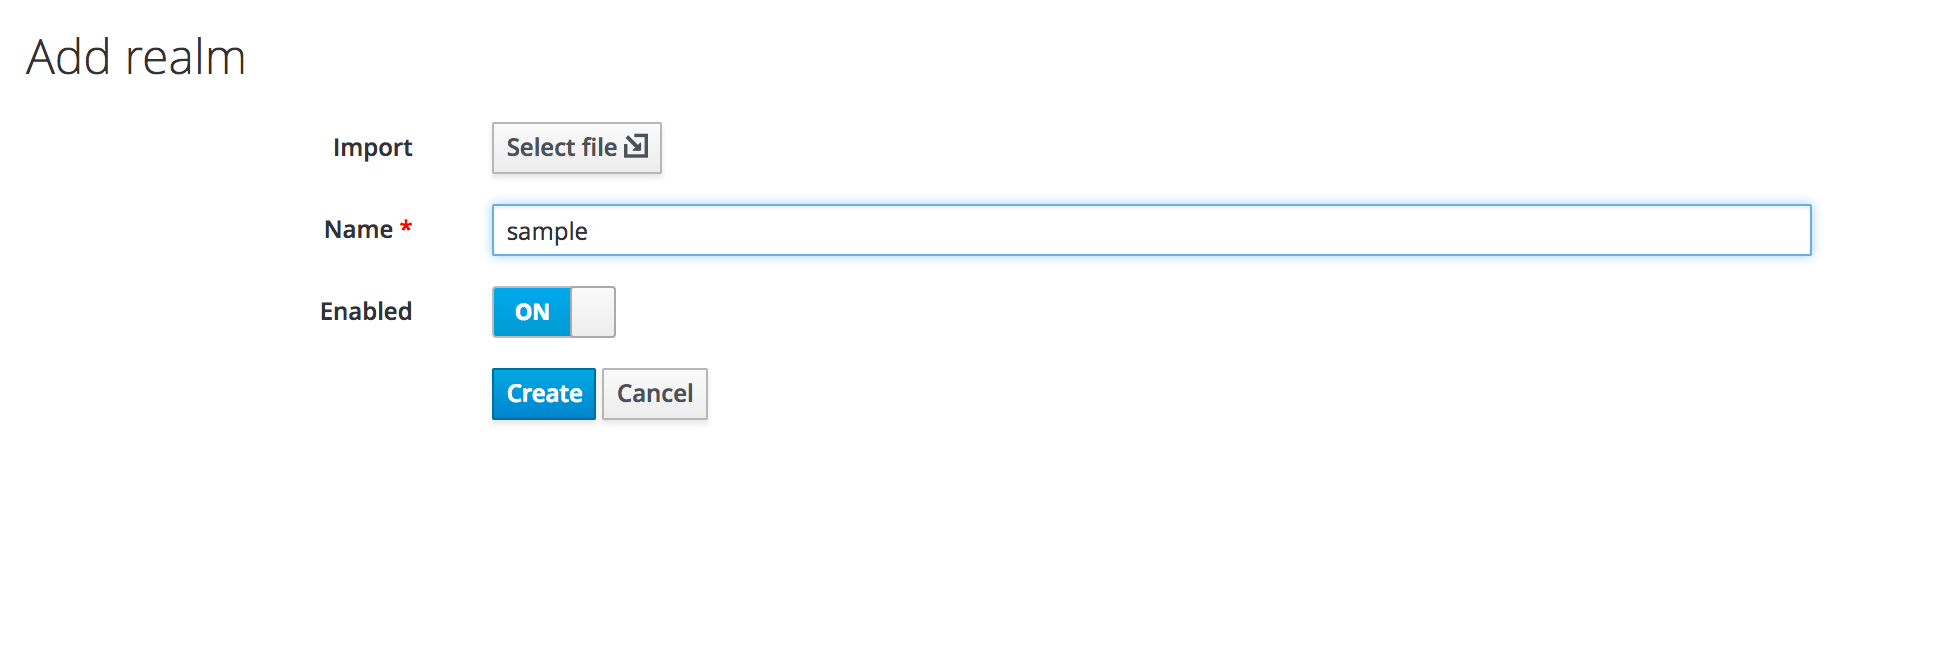
Call it sample and click create.
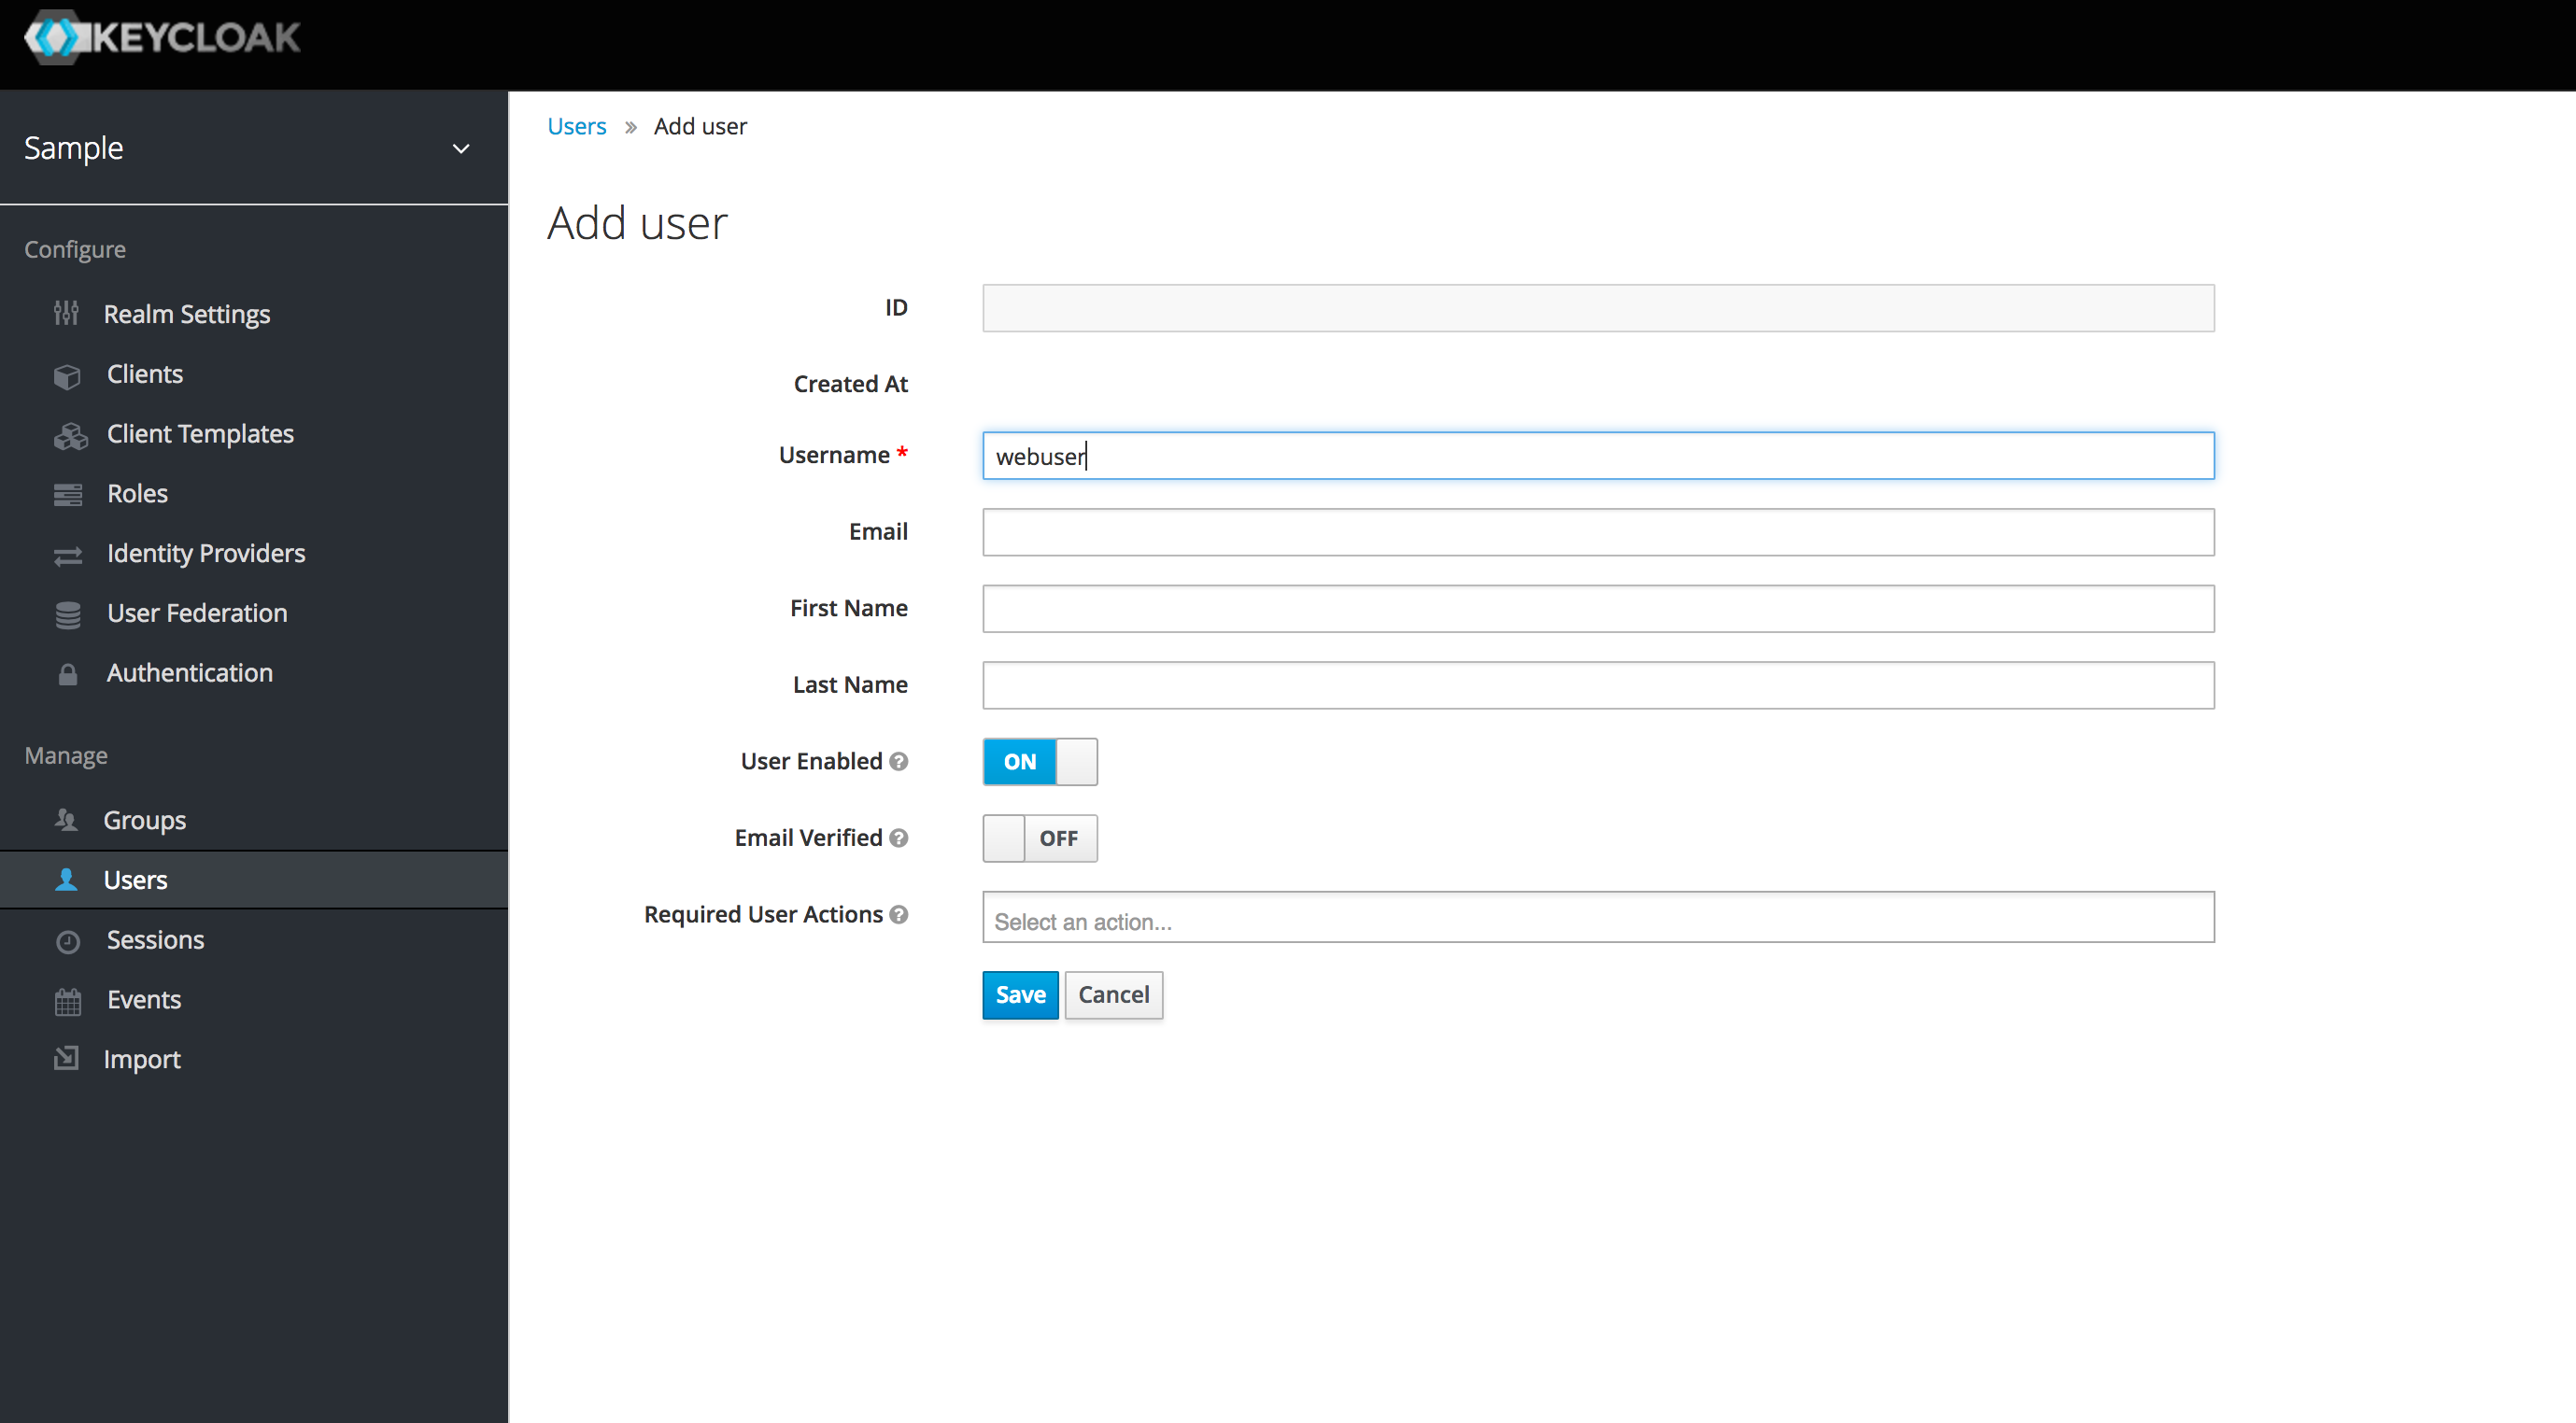
Select Users from the side menu and create a new user called webuser (this user will be able to log in to the Django app).
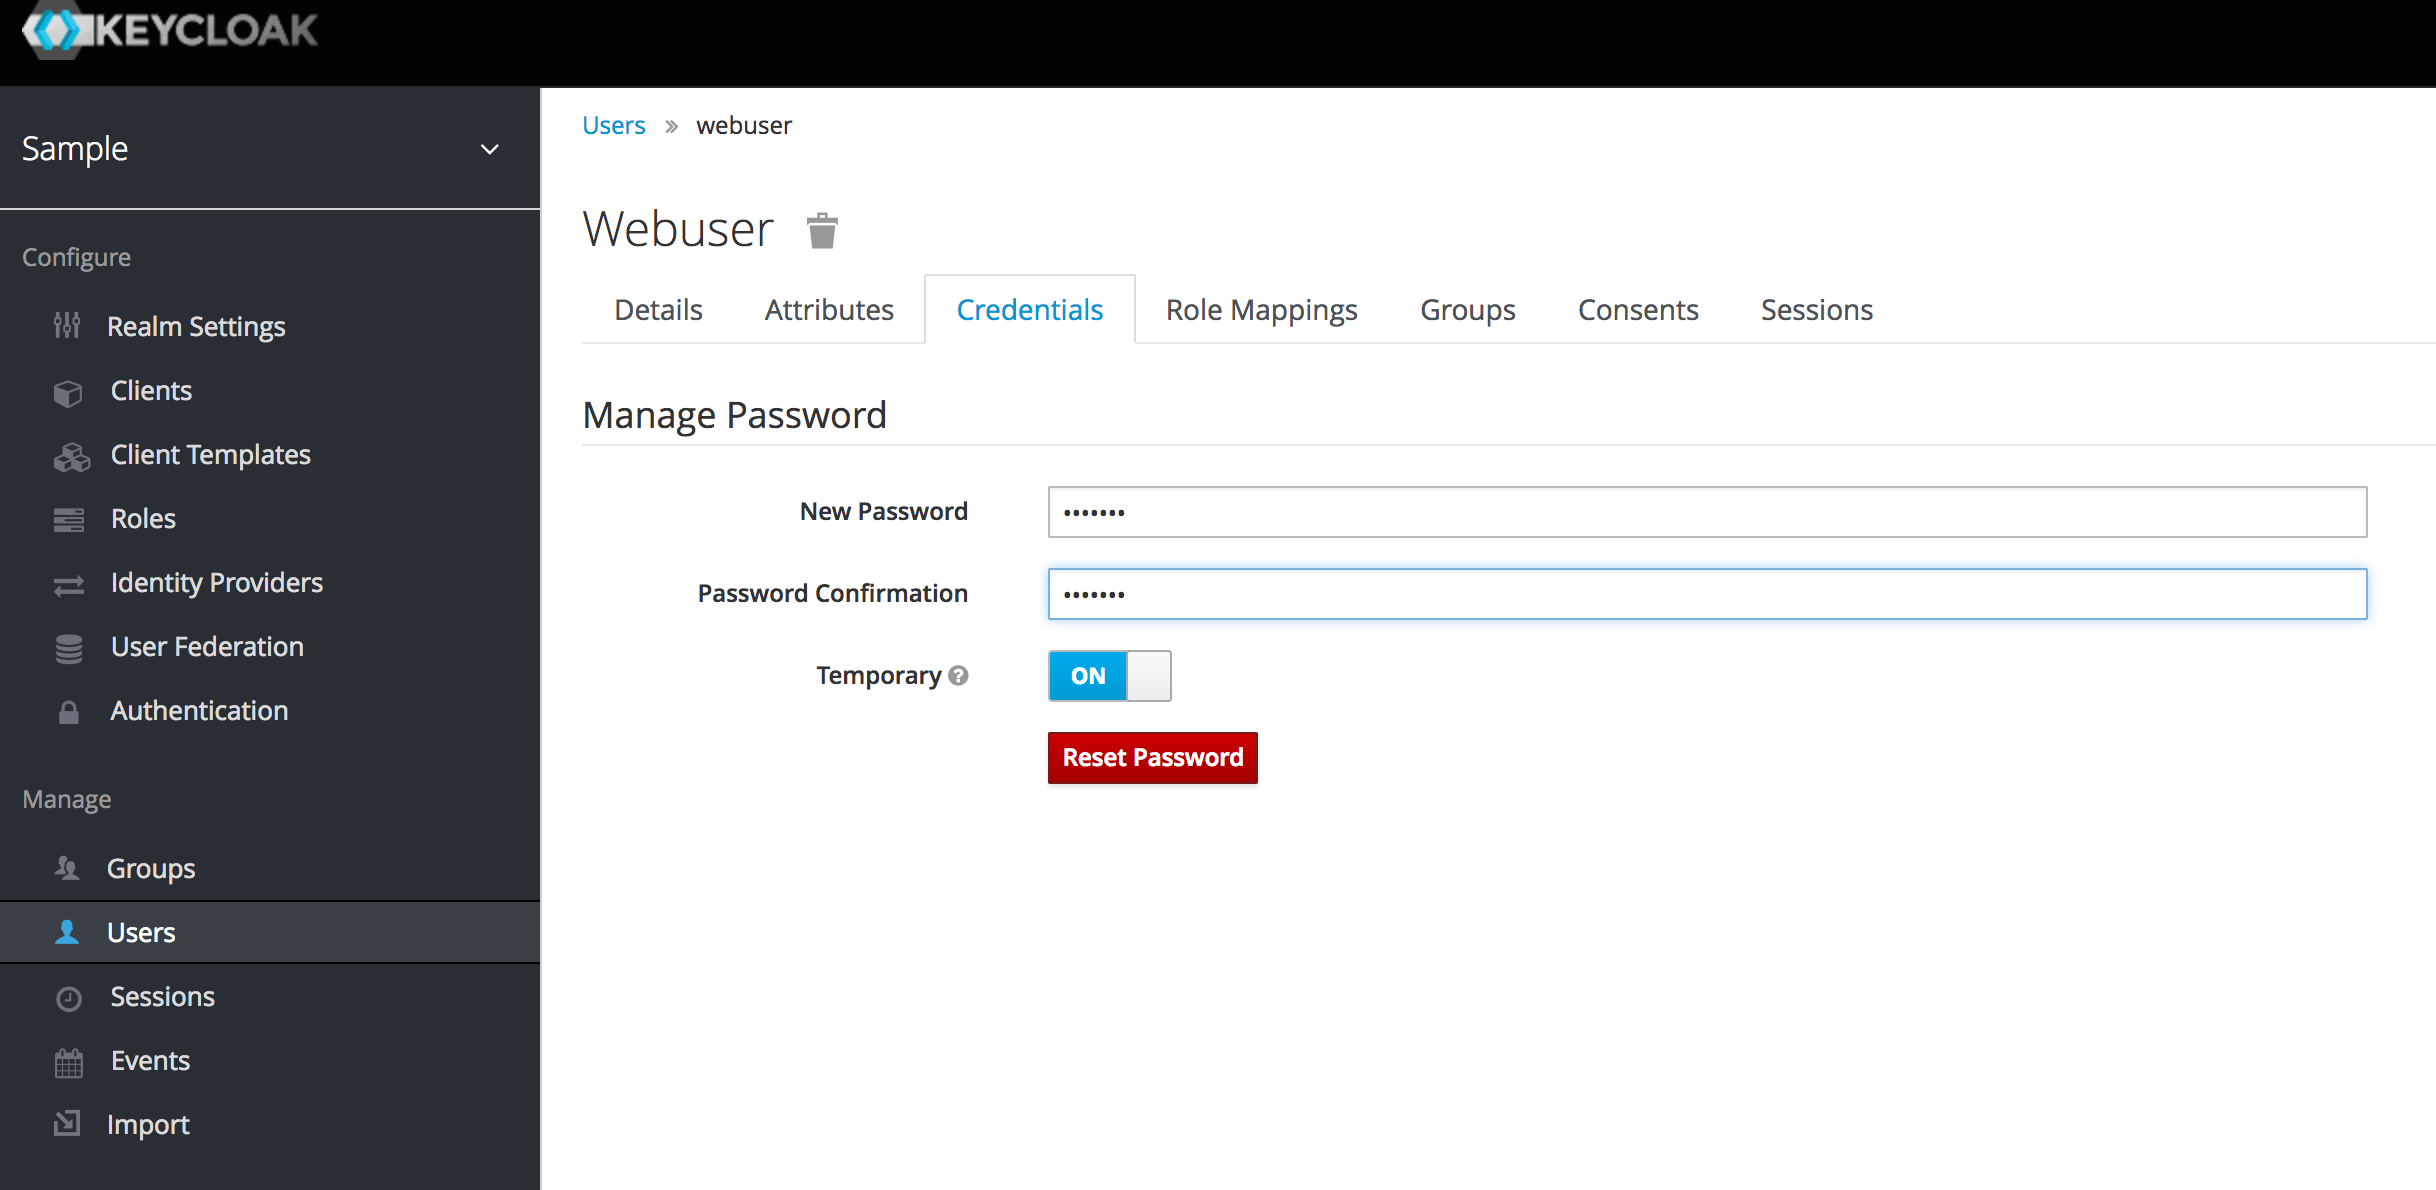
Once created, set a temporary password for the user.
Finally we need to create a client to represent our Django application.
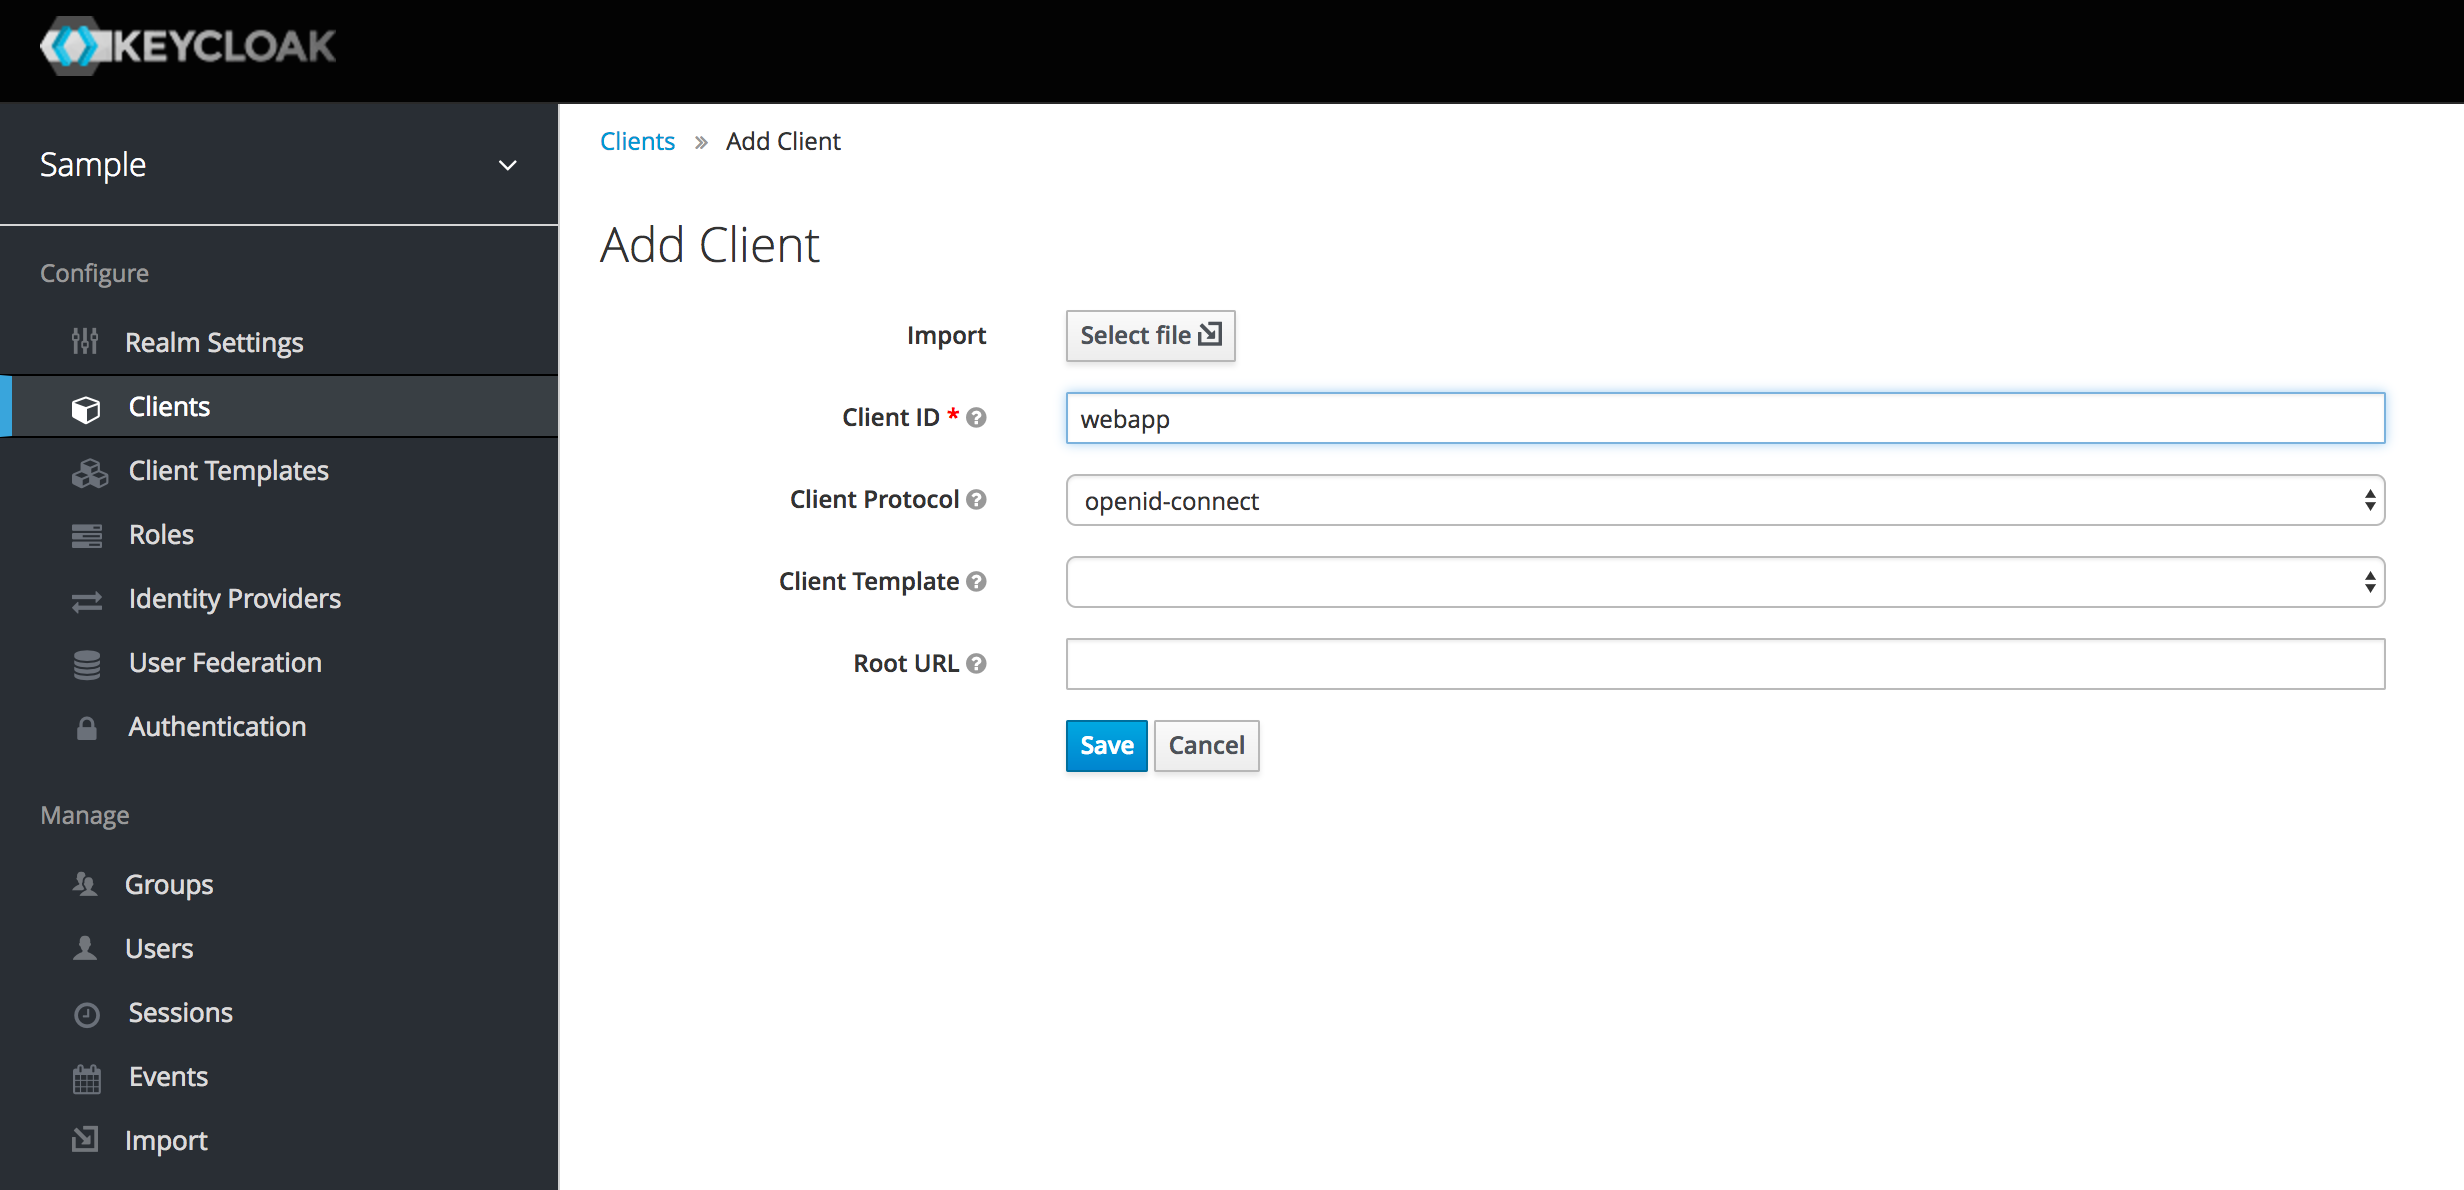
Select Clients from the side menu and Add a new client. Call it webapp and hit save.

Finally update the valid redirect uris to be http://localhost:8000/* (the url of Django running locally).
This is all we need to do to get started.
You can easily theme the log in pages, allow user registration, password resets, email verification, social logins etc. using the admin console so explore and read the documentation to see whats possible.
Set up Django
First we need to install the Django OIDC libraries. These are Python 3 libraries.
$ pip install git+https://github.com/jhuapl-boss/django-oidc.git
$ pip install git+https://github.com/jhuapl-boss/drf-oidc-auth.git
$ pip install git+https://github.com/jhuapl-boss/boss-oidc.git
Next we create a new django project and application.
$ django-admin startproject keycloakexample
$ cd keycloakexample/
$ python manage.py startapp demo
Now we need to modify our settings.py file. Add bossoidc, djangooidc and demo to our INSTALLED_APPS list, and add an AUTHENTICATION_BACKENDS tuple.
INSTALLED_APPS = [
    ''django.contrib.admin'',
    ''django.contrib.auth'',
    ''django.contrib.contenttypes'',
    ''django.contrib.sessions'',
    ''django.contrib.messages'',
    ''django.contrib.staticfiles'',
    ''bossoidc'',
    ''djangooidc'',
    ''demo'',
]

AUTHENTICATION_BACKENDS = (
    ''django.contrib.auth.backends.ModelBackend'',
    ''bossoidc.backend.OpenIdConnectBackend'',
)
We also need to add a few settings to setup our OIDC (Keycloak) provider.
auth_uri = "http://localhost:8080/auth/realms/sample"
client_id = "webapp"
public_uri = "http://localhost:8000"

from bossoidc.settings import *
configure_oidc(auth_uri, client_id, public_uri)
Next, make any migrations required by the bossoidc application and apply all migrations.
$ python manage.py makemigrations bossoidc
$ python manage.py migrate
Now we can add the urls we need. Change urls.py to read
from django.conf.urls import url, include
from django.contrib import admin

urlpatterns = [
    url(r'''', include(''demo.urls'')),
    url(r''^admin/'', admin.site.urls),
    url(r''openid/'', include(''djangooidc.urls'')),
]
Finally, lets change our demo app to show the authentication working. Create demo/urls.py and add the following.
from django.conf.urls import url
from . import views

urlpatterns = [
    url(r''^$'', views.index, name=''index''),
    url(r''^secure$'', views.secure, name=''secure''),
]
Add the following to demo/views.py
from django.http import HttpResponse
from django.contrib.auth.decorators import login_required
def index(request):
return HttpResponse(''You\''re at the index. <a href="/secure">Secure</a>'')
@login_required
def secure(request):
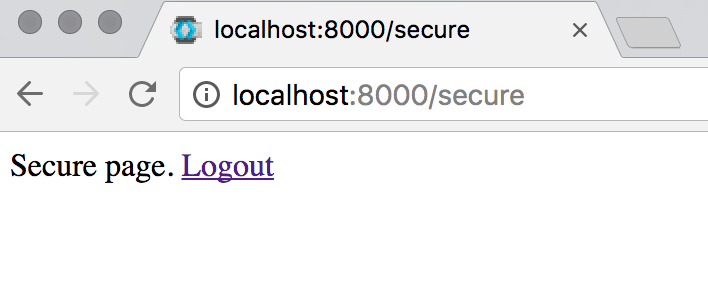
return HttpResponse(''Secure page. <a href="/openid/logout">Logout</a>'')
We can now start our django app as normal.
$ python manage.py runserver
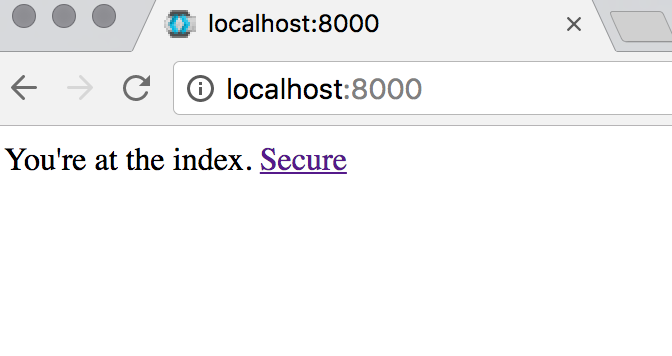
Now when we visit http://localhost:8000 we get a very simple index page. Clicking on the Secure link will redirect you to the keycloak log in page.
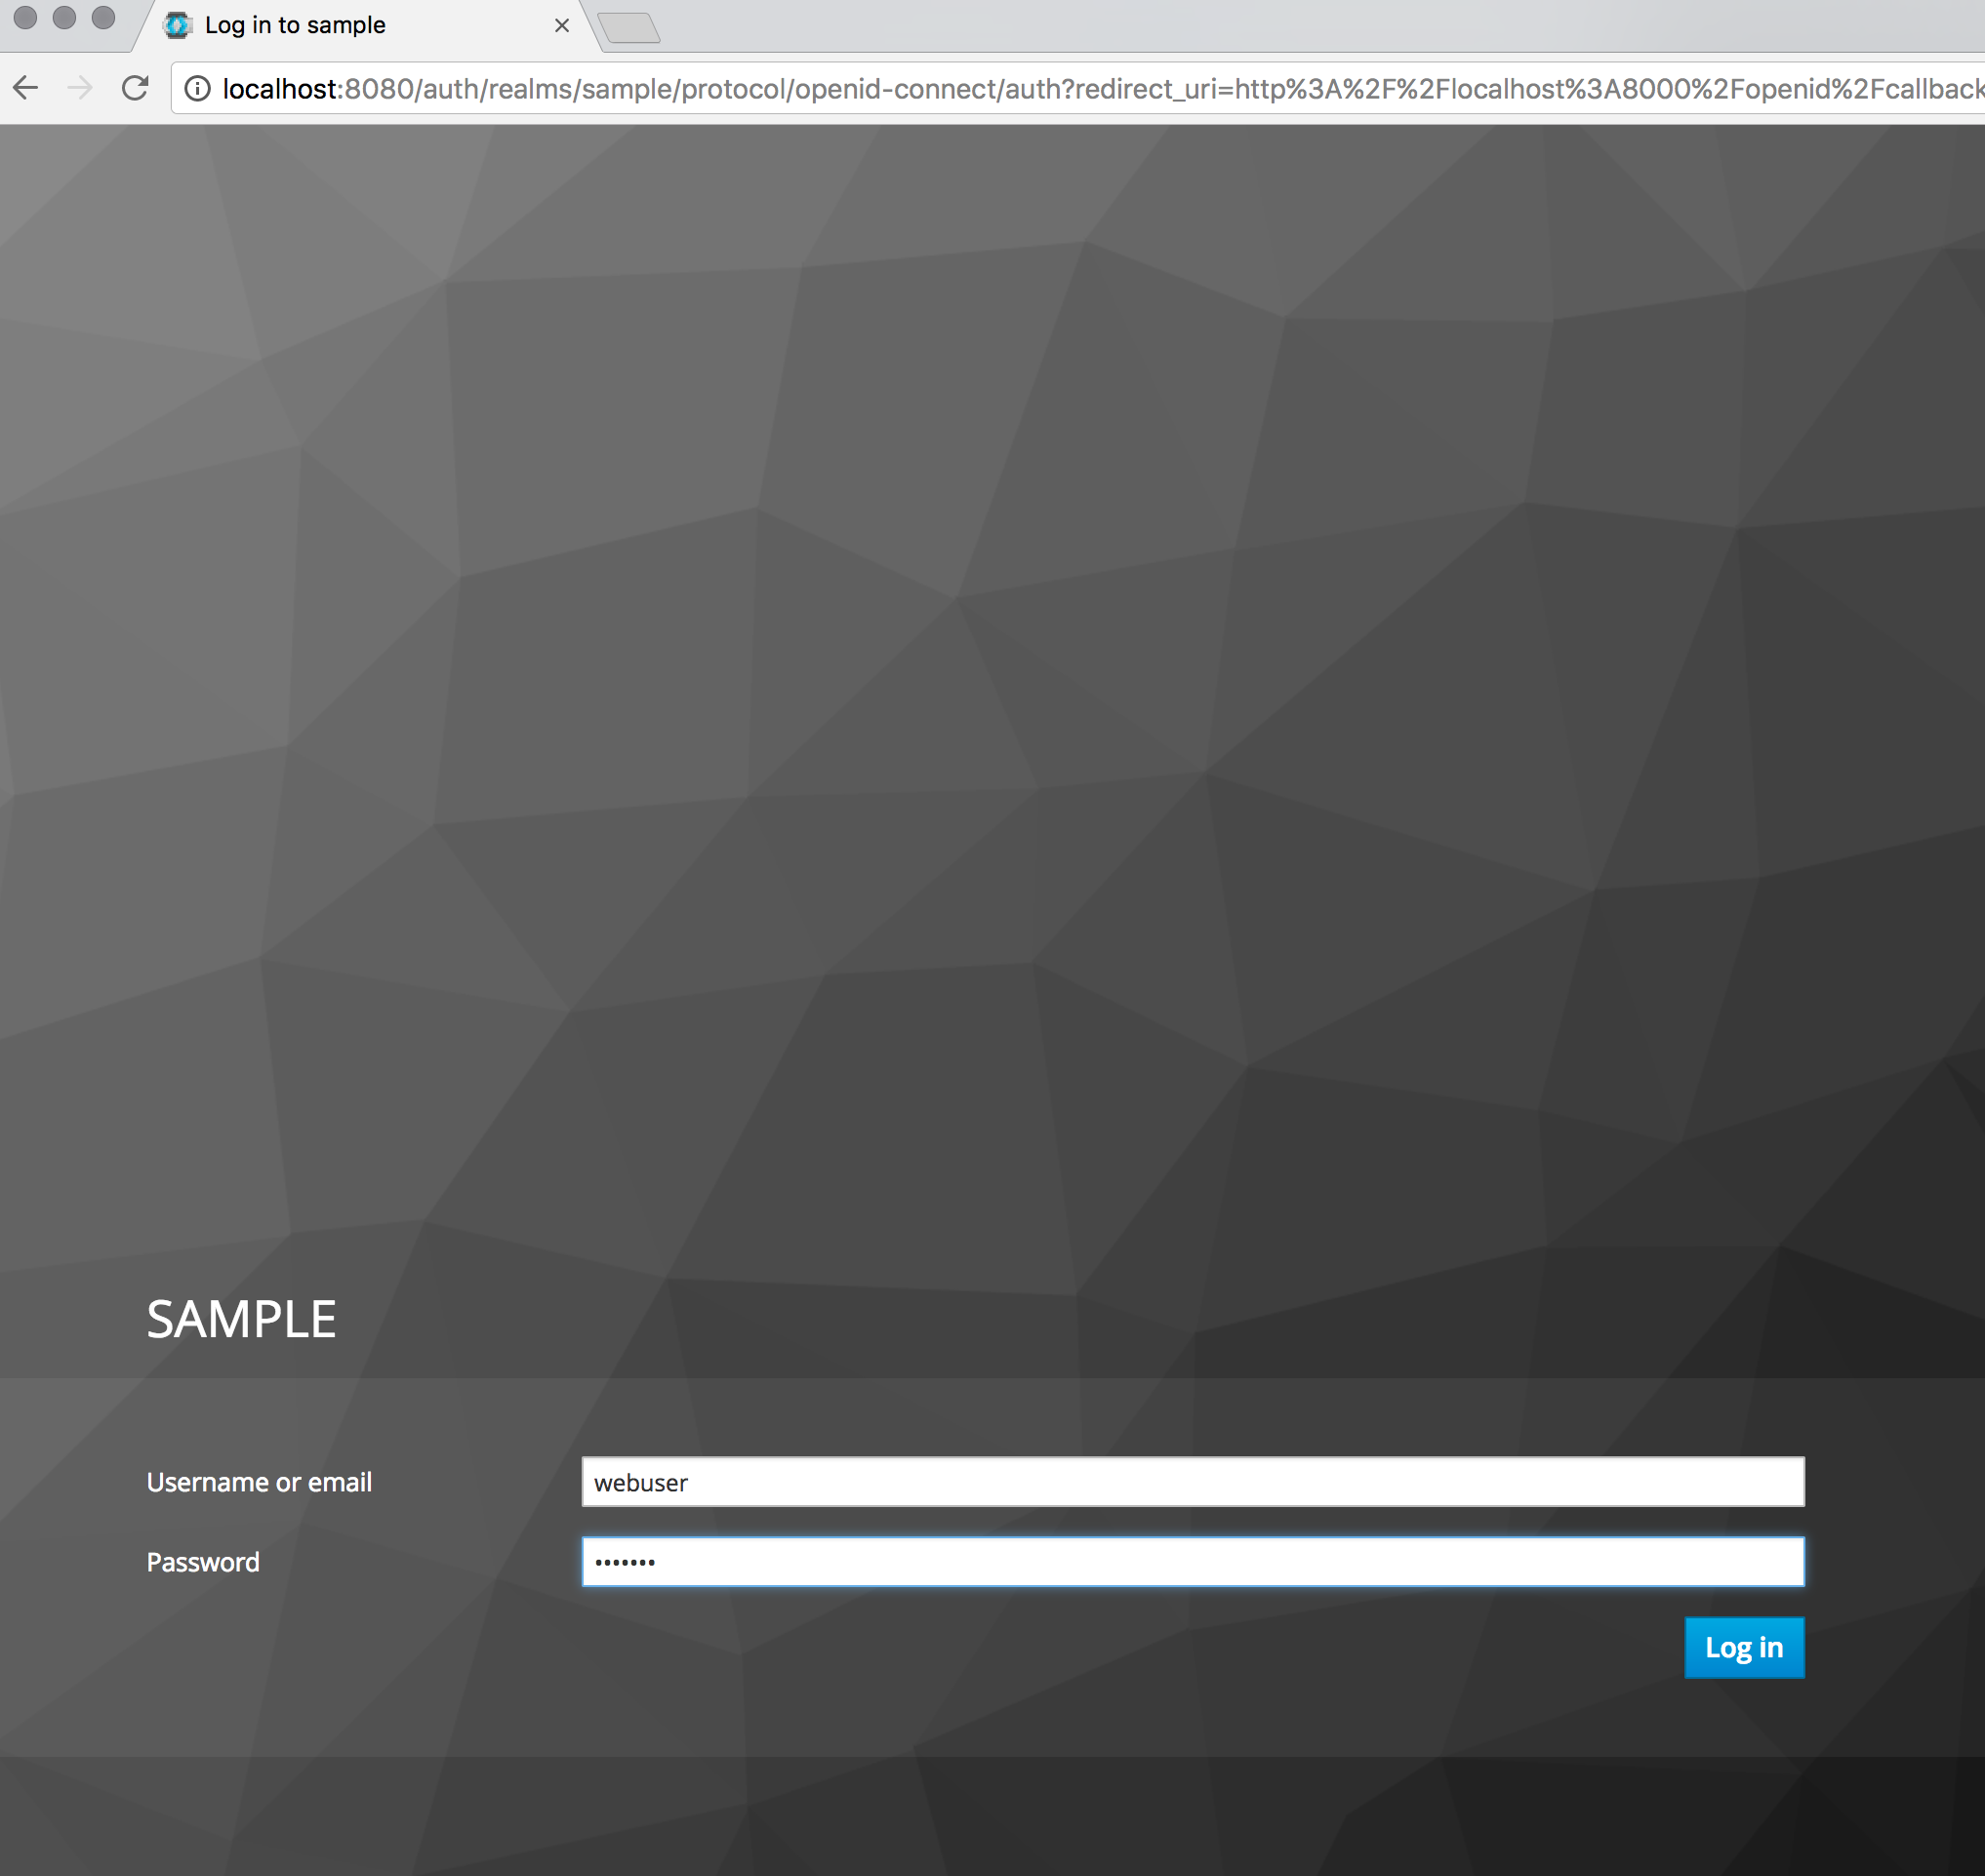
Enter the username and password you previously created. You will then be redirected to a screen asking you to change the temporary password. Once you change the password you will be redirected to the Django secure page.
Conclusion
It is very easy to get started with keycloak and it offers many tried and tested features that would take significant effort to reimplement yourself. Implementing authentication has always been a tedious and difficult to get right task. If you plan to use microservices or multiple web applications as part of your solution, keycloak can save you significant work and prevent your users from having to log in to the multiple different applications.